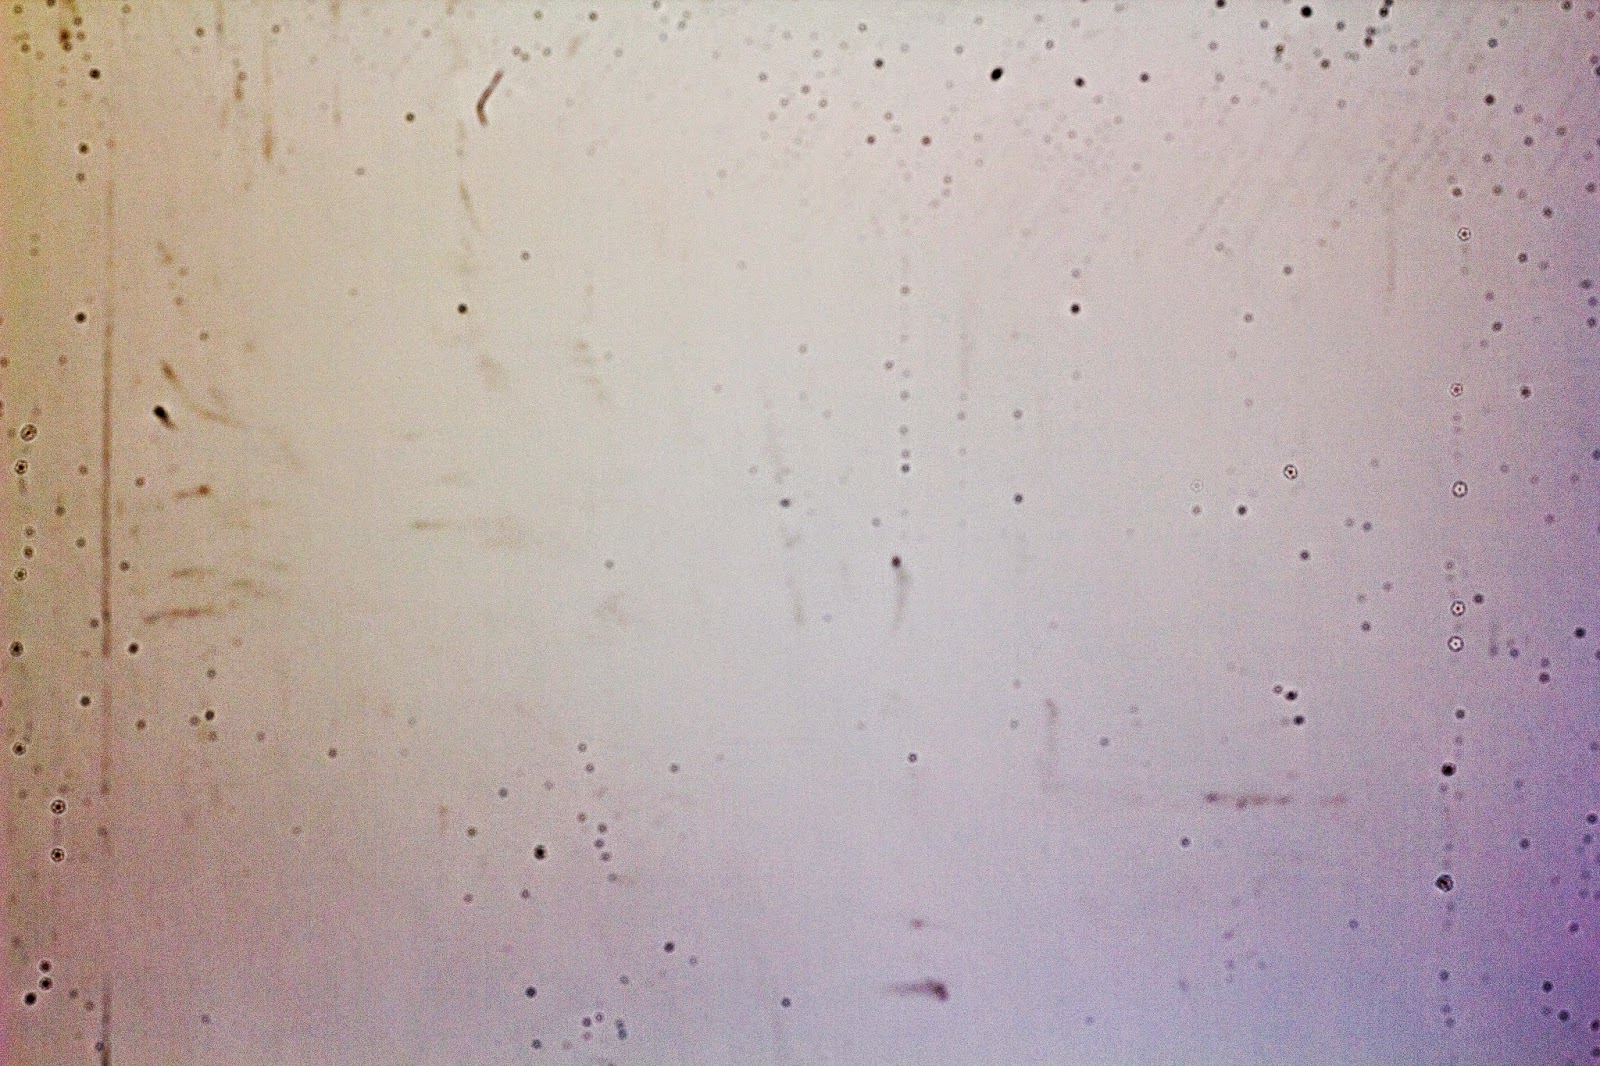
After my second planned unplanned trip I was retouching the photos. It was when I found multiple dust particles on the sensor. I used the clone tool on Lightroom to remove a few, but few were annoying.
Took on youtube to learn how to clean Dust particles from the sensor. I was convinced by the wet method. To use cleaning liquid and swab to remove dust. If you first want to identify which dust you are dealing with, check this article.
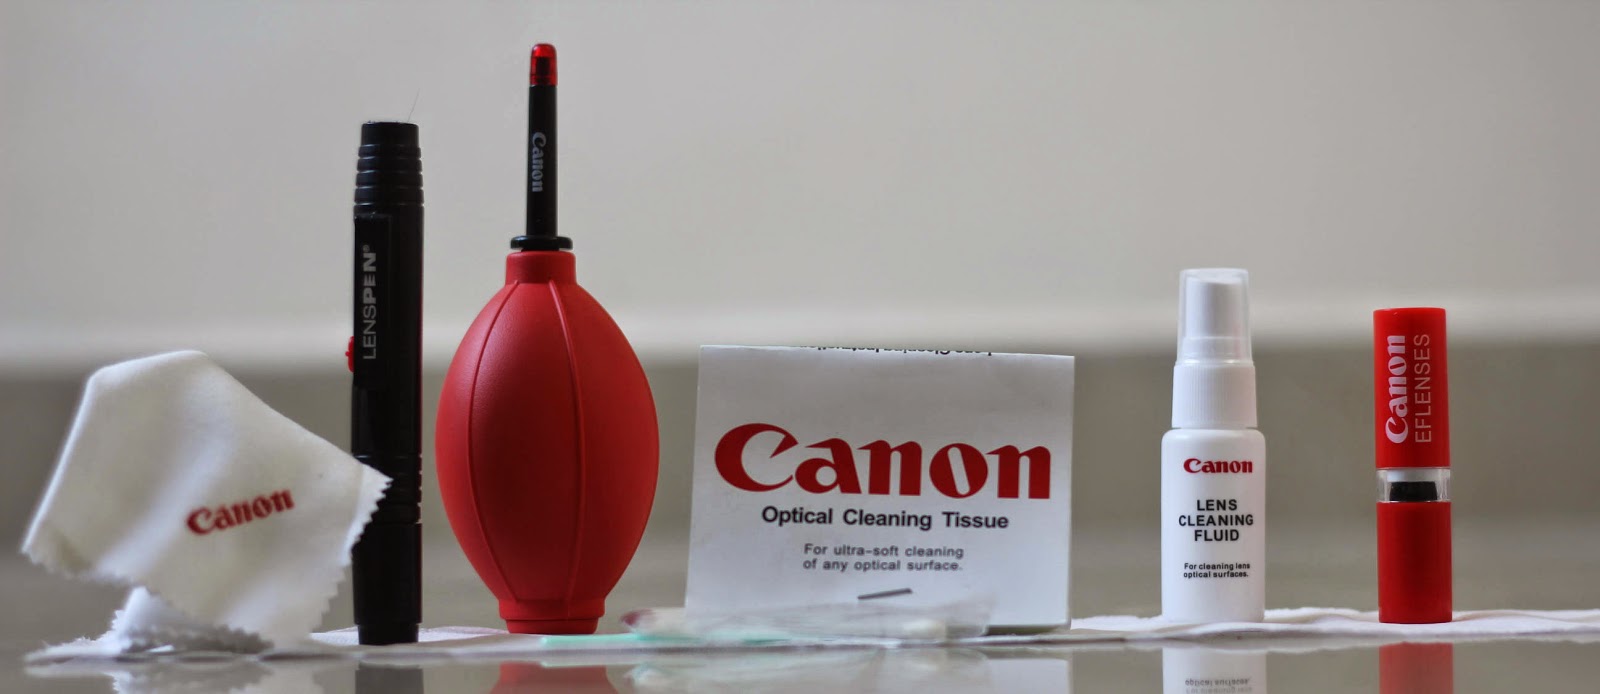
Now it is my well trusted ebay to buy the cleaning kit. I bought the cleaning kit from Canon and the seller also added the lenspen along with it for Rs. 599. It was a good deal, as other sellers had just the Canon cleaning around the same price rage.
I was patiently waiting for the kit to arrive.
I got the kit in my hands. I was all exited to rip open the package and get the dust off 🙂
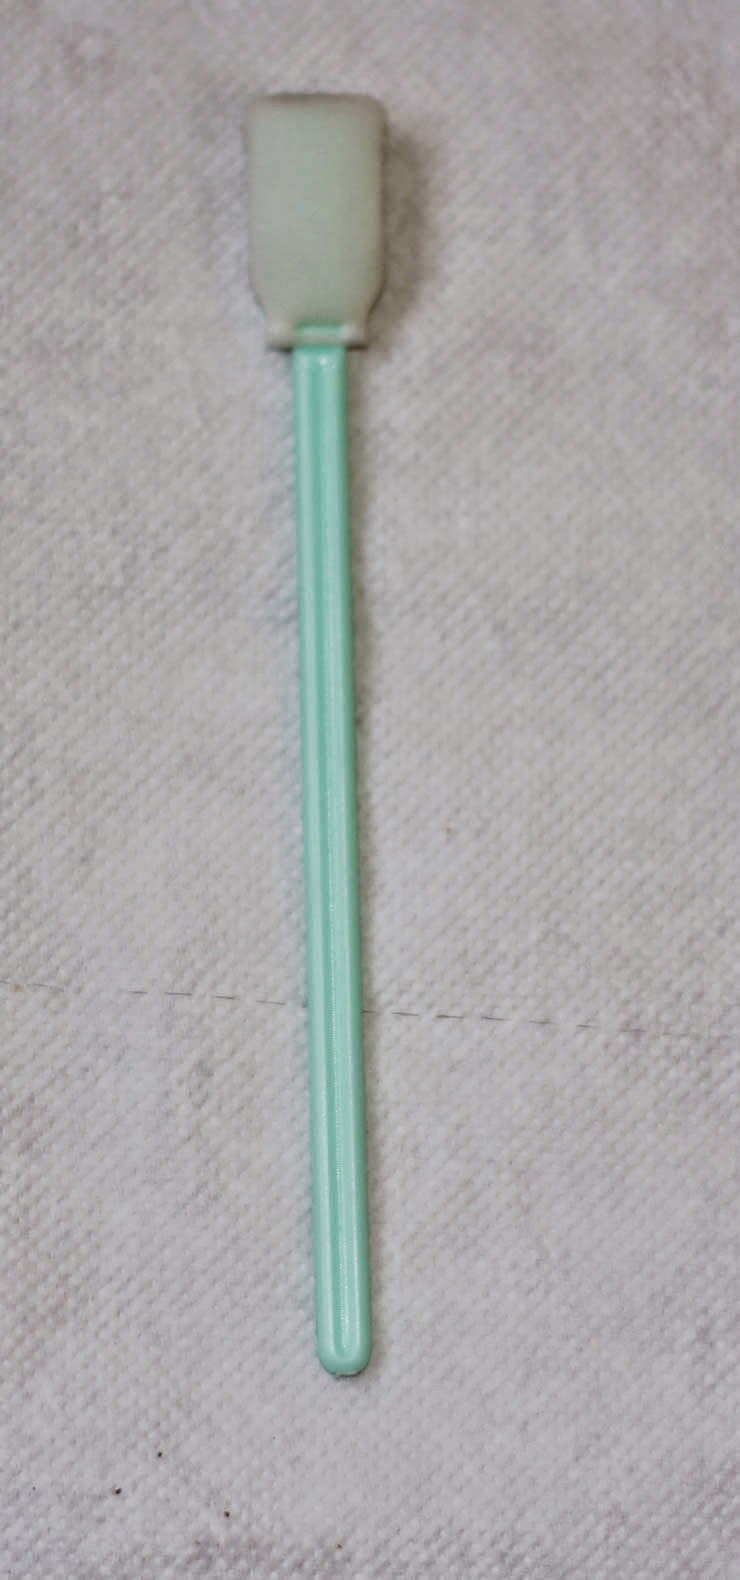
I tore in to the other plastic casing, the cleaning swab slipped and dropped on the floor 🙁 It was not a covered box inside. I removed all the other items the same way out. The sensor cleaning swab is the star of the show and he was already eating dirt 🙁
First I started with the rocket blower to clear the dust from the shutter mirror. This is the dust you can see from the view finder, but not visible on the pictures. These dust are not damaging, but annoying when you are taking a picture. You give your camera to someone, it is the first thing they will notice when they put the view finder to the eye.
The rocket blower did its job. The view finder dust was gone 🙂
Now to the sensor. I had set the camera to manual cleaning mode to lock up the shutter mirror. I was staring the devil in the eye.
It was time to call for the hero, lens cleaning swab. The kit also had the cleaning liquid. IMO it is to be used to make the swab slide over the sensor and not to leave any scratch mark on it. In every instruction video they had asked to use 2 drops on one side of the swab and leave the other side dry. This liquid container had a spray nozzle. One press, the whole swab was not drenched with cleaning liquid. All is well, let me not waste time and make more dust get to the sensor or on to the swab itself, as this swab should be used only once. One run with the wet side, another with the dry side and it is done.
Did the same and took a test shot. Heart attack. I am seeing more dust.
I missed an important part in this process. I should have used the rocket blower to clean the sensor and the cavity first. I called in the super hero too early.
Now my swab was used, there was more dust. I was getting impatient. I took a risk. Let me do it again, now the right way.
I stared with the rocket blower. Took a test shot, I saw some dust particles gone. Now was the time for the swab. I can damage the sensor and have a brick around my neck if this goes wrong. Did the wet run and the dry run. Took a test shot.
Yaay, the swab did not add any new dust. 🙂
WHAT!, it was not removing the dust, it was moving the dust around and the cleaning liquid was leaving its mark on the sensor. Knowing the swab was not adding new dust particles and the dust were not fixed to the sensor. I did this whole process again and again and again. No success.
I then also tried the lens pen to clean, it was a scary experience, it was leaving carbon particles on the sensor. I again had to use rocket blower, swab to push them around. It was getting too much. It was time to call the experts.
I took the camera to the authorized service center. I asked them if they will clean the sensor. They said yes and took the camera in. After about 5 min, the same guy came out with the camera. I was all exited to hear the good news. He said the flash was not popping up 🙁 I removed the hot shoe protector and the flash was popping up.
He went in again. I very patiently waited for 10 minutes. This guy came out again and said Sensor can be cleaned. This is what he told 15 minutes back. I asked him to do it. He said they cannot just clean the sensor, they would have to dismantle the camera, clean the body and then have to clean the sensor. It will cost Rs. 3,000 🙁
I was not up for it.
I called Murali (One of my mentor) advised me to check the street behind Devi theater where he had seen camera shops. There I went to Enango Digital camera service center (Wallajah road). The lady there said she can help and took a dry swab. She repeated the process for 8 - 10 times and the roughest dust were out. I was still seeing minor dust. This was manageable than what it was before. I was happy 🙂 I asked her for the cost. She said they do not charge for all this. That was sweet.
Now the sensor was not that bad. Very few dust particles and they were not noticeable on most of the pictures. If you are looking close, there they were.
The devil inside me pushed me to clean the rest of the dust. This time I did not want to try the swab. I wanted to try something soft, good absorbing power, less loose fibers. I went on to a used Baniyan 🙂 Yes I did.
It was a wonder product :D. It did remove most of the dust. Did not leave behind the lens cleaning liquid trace. I used the swab for the wet run and the banyan cloth for the dry run. It was almost there, but not there yet.
Not convinced with the wet option, I was turned towards the stamp option. This seems logical. No liquid mess. No rubbing business, no scratches. It sticks the dust and removes it.
I find lead me to a product in China which comes with a stamp and a strip of cleaning paper which will take back the dust from the stamp. The strips of paper was limited. Another was a Korean product, Matin (M - 6361). This has two stamps, one was narrow for edges which the larger stamp may miss.
It was costing Rs. 1,500 - Rs. 1,800 on most of the sites. After a long and a patient search, I landed on Camerazone.in. This same product was on sale, it was Rs. 900. That was a deal. Need not spend Rs. 3,000 to the service center if Matin will work.
Matin comes with a mini pad that will take the dust from the stamp. The mini pad can be cleaned with water can can be reused. It can last up to 2 years (With user reviewed I read).
The product arrived. I was not rushing this time. I lest it aside and went on with my work for the day. When I had time took on the task. Used the rocket blower to start with and then a couple of stamps with the larger stamp, carefully did the corners with the smaller stamp. Viola!!
Before Matin:
After Matin:
I was soo happy. Not a single spot of dust. Even if I may not use this product and it will be lying on the shelf, it took away the worry I had.
I initially thought the sensor is what we are cleaning. It is not the sensor, but the protective layer on top of the sensor. If it was not a rugged substance, it would have been spoilt with hundreds of attempts I had made. Indeed, Canon is built line a tank.
